At Home Massage Tools: The Rolling Pin for Self-Massage
 copy 3")
But, when are you planning to see your massage therapist again? Are you even on the schedule? Don’t worry, I’m not shaming you if you can’t get back in as soon as you’d like. There are plenty of reasons why we can’t always find the time for that much-needed self-care. You wonder, is there anything you can do at home to ease those muscles until your next appointment?
Well, the answer is yes! While healing through human touch is ideal, self-massage tools are therapeutic too! And I’m not talking about those expensive jack-hammering contraptions that look like guns. You probably own at least one of these multi-use objects already: rolling pins, tennis balls, car buffers, water bottles… just look around the house!
Today, we’ll talk about the benefits of using a rolling pin for self-massage. (We’ll address the other objects in upcoming blogs.) So, why and how should you use a dough roller on your muscles?
Rolling Pin for Self-Massage
A rolling pin is basically a handheld foam roller. It works in a similar way; you place it at the attachment sight of a muscle, then roll through the muscle belly to straighten those fibers out. But you know what’s great about using a rolling pin? You can use it in a much lazier fashion! Foam rollers require an active approach, having your bodyweight work against it while you put forth effort to move on top of it. With a rolling pin, you can be so lazy as to use it while seated. And even better, you can use it with or without assistance.
I’ll listed off the parts of the body that benefit most from rolling.
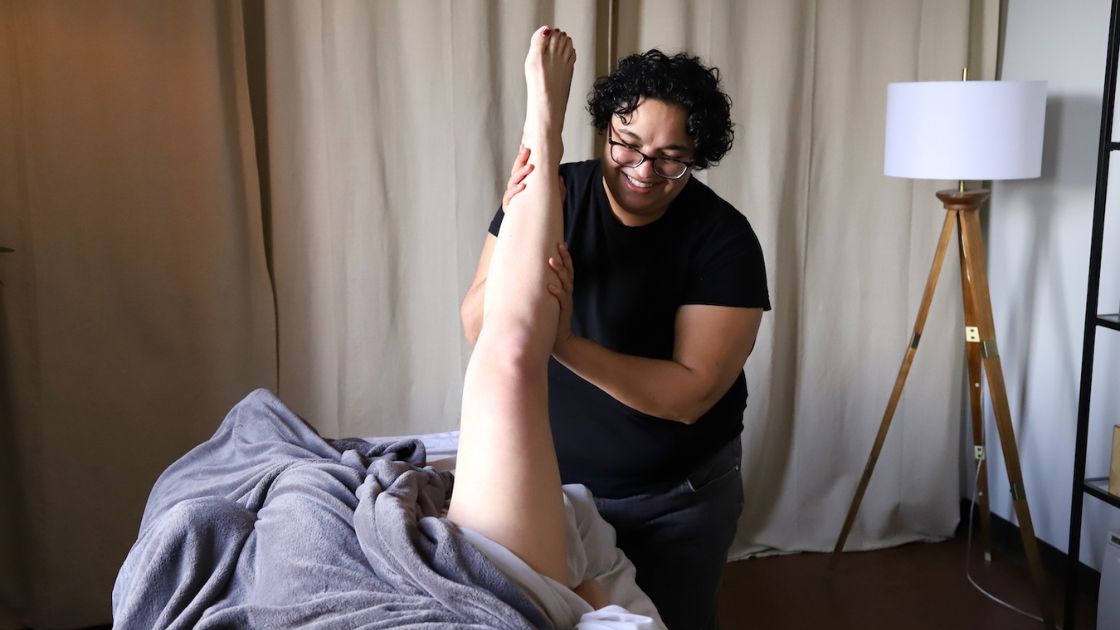
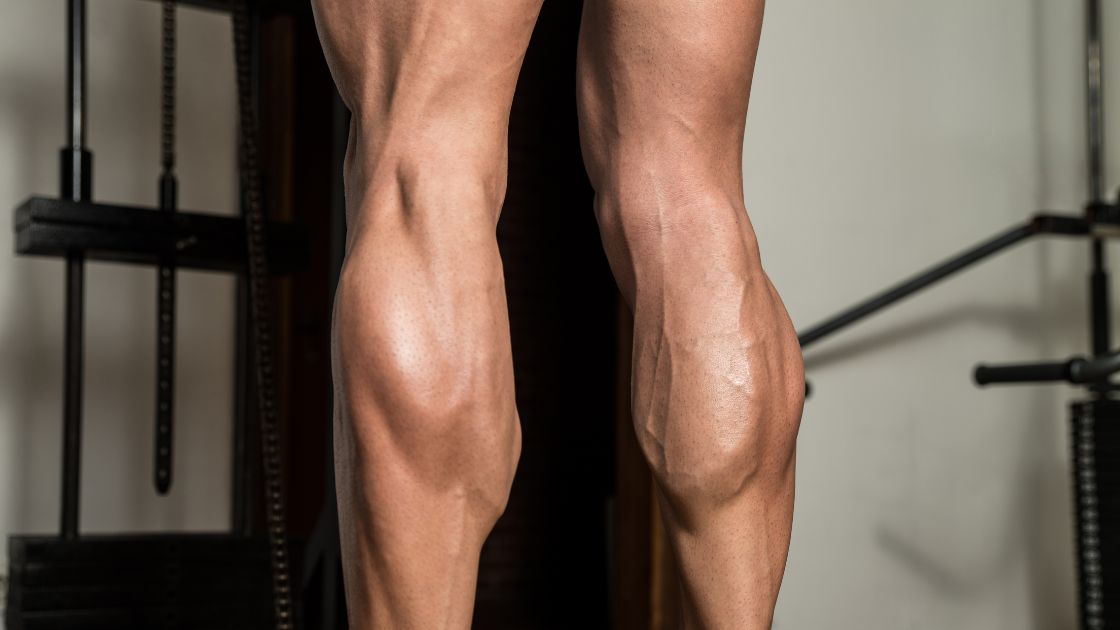
Leg Muscles
It’s best to use it on your upper leg muscles such as the IT band, hamstrings, quadriceps and adductors. For these muscles, you won’t need to stand up. While seated, you can lightly roll the pin on top of your thigh (quadriceps) or on the inner thigh (adductors), starting at the knee and moving toward to the groin. The light pressure combined with upward strokes will provide lymphatic drainage, as you’ll be pushing the lymph (a fluid that removes bacteria from tissues) into the lymph nodes (the bean-shaped structure that neutralize that same bacteria) located in the groin. Lymphatic drainage is especially beneficial for edema. If you have swelling in an area that a rolling pin can cover, it’s not a bad idea to add it to your wellness routine.
To work the IT band, place with pin on the lateral side of the knee and roll upward until you reach your greater trochanter (the lateral notch at the top of your femur). Self-massage is always good for the IT band, as it’s one of the more painful muscles to have touched by another person. When too much pressure is applied, the band can send a shooting non-therapeutic pain straight up your hip. This is because it’s more of a tendon than it is a muscle, and therefore doesn’t behave like a muscle. Putting yourself in control will give you both physical and mental relief — you won’t have to anticipate some unexpected discomfort.
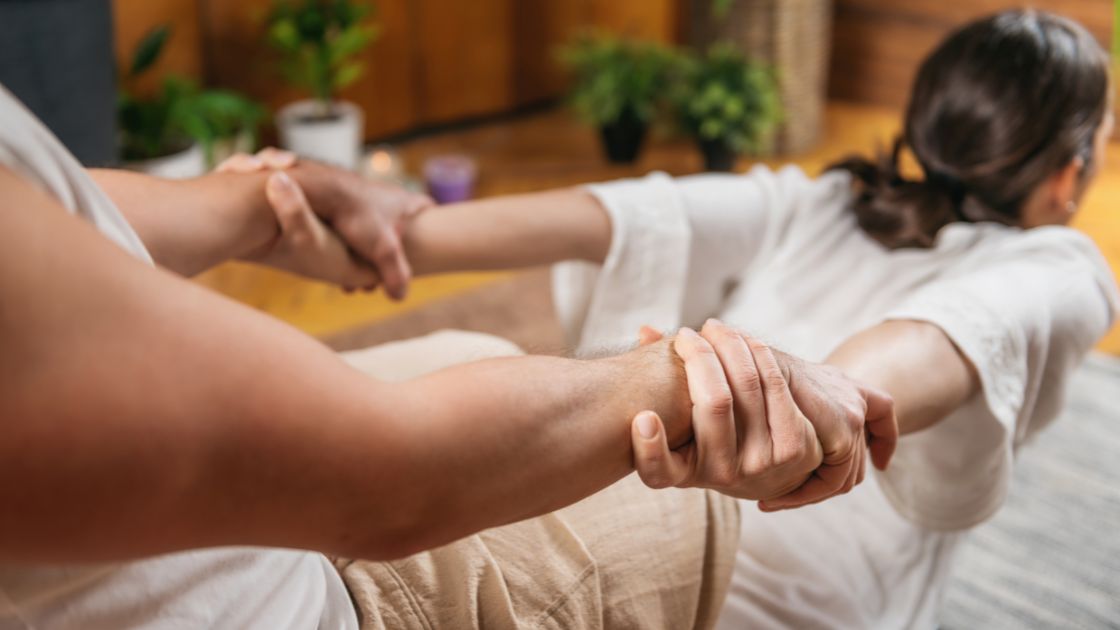
For hamstring massage, pull yourself forward on the chair and place the pin in the pit of your knee. Press it firmly against the hamstrings, and roll toward your pelvis. The one uses your bodyweight, just like a foam roller, but you’re sedentary.
Due to wordiness, I’ll attach a video of some guy receiving an assisted rolling pin massage. It includes some calf massage too! Try it out with a partner!
Neck and Shoulders
If you’re like most people (aka everybody), you hold tension in your shoulders. Forward head posture is the biggest culprit, and people who work at desks are the most affected. But hey, if you’re already seated a desk for more of your day, a rolling pin can come to the rescue while you work!
What you want to do is place the pin at the base of your skull, then roll up and down the back of your neck with your desired pressure level. With each stroke, rotate the pin toward the side of the neck. Once you reach the side of the neck, you can roll the pin downward into the deltoid. Keep the movement fluent, always moving up and down. Make sure to address the left, right, and back sides of neck. This will make sure all the muscles that attach your neck to your shoulders will get some relief.
If my written instructions were hard to follow, here are two more videos to watch! And as with all rolling pin for self-massage techniques, you can always get a partner to do the work for you!
Arms
Your biceps and triceps need some love! But sometimes, their attachment sights can be tender to the touch — another one of those areas a therapist might pinch by mistake. Your triceps in particular can be a little rough, as the muscle inserts into armpit, an area where your most trigger point-infested muscles live.
As with the IT band, these are two great muscles to have control over. Start at your elbow (the pit of the elbow for the biceps, back of the elbow for triceps) and roll upward into the deltoid.
Do it on the forearms too! Start at the wrist, and roll upward toward the elbow!
So, you may have noticed that you always want to roll upward. Why is that? I call it “the direction of correction”, as it’s the only way to go for ultimate muscle relief. This is especially important to note if you’re massaging the arms. If you end the massage with downward strokes, you’re pushing lymph down into your fingers — and from there, it will have nowhere to go and just sit in your digits, unable to be neutralized by lymph nodes. Because you have lymph nodes in your arms pits, always move the pin up towards shoulder. The general rule with any muscle is to massage towards the heart.
Here’s another video!
Back Muscles
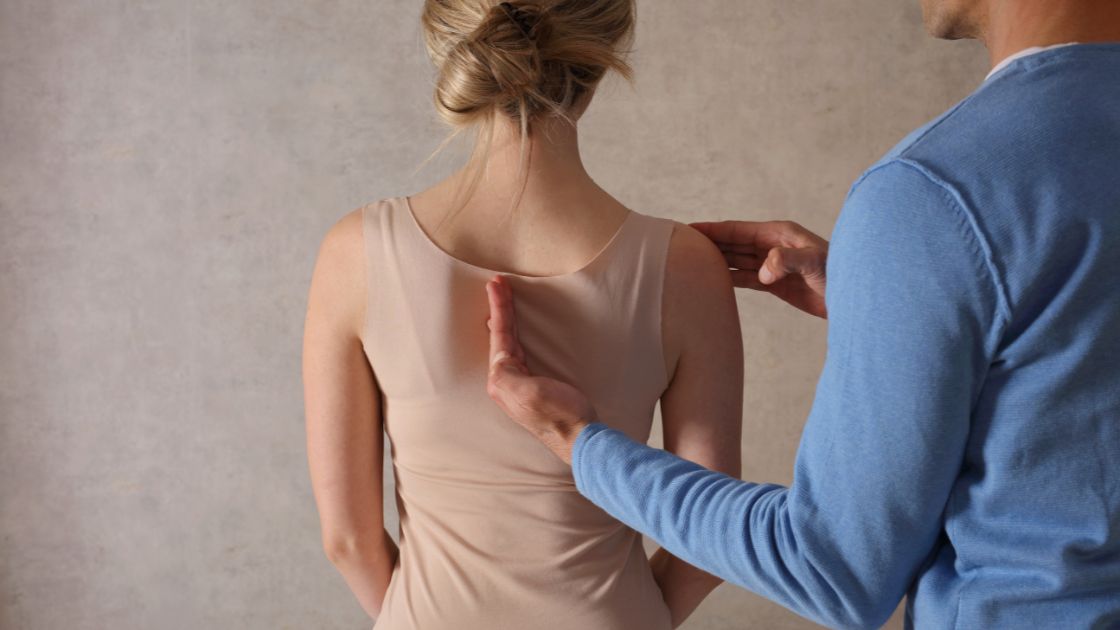
Ok, so you’ll probably need a partner to help you out with a back massage — and really, I’d only recommend handing the pin to someone who knows their anatomy. Your spine is precious, and incorrect use can be the opposite of therapeutic. I’m only bringing this one up so you don’t just go ahead and try it out without any knowledge of it. But seriously, ONLY do this one with a professional.
With this one, you’ll want to line the pin up parallel to your spine. Roll laterally, then back toward the spine, but NEVER over the spine, especially with deep pressure. This can lead to instant back pain, a headache, or (in the worst cases) nerve damage.
Face/Jaw
Ok, I want to make sure I end on a not scary note! You might be thinking “how do I fit a rolling pin on the side of my face?!” Well, if you have a typical rolling pin and an average-sized head, you probably can’t. But have you ever seen one of those little tiny ones with a wooden handle? Those are perfect for a facial/jaw massage! (I couldn’t find a free image of one, but I’ll attach a video at the bottom.)
If you have jaw pain, take that little rolling pin and place it at the base of your jaw. Always using upward strokes, roll the pin upward and stop at your cheek bone. It’s a great release for your masseter and buccinator — your chewing muscles! This is great because your jaw muscles can often go ignored during a massage. Plenty of us live with TMJ, bruxism, or simply talk too much and need relief!
And as a bonus, facial massages can be used as part of an anti-aging regimen, if that’s at all of interest to you! In the video below, the lady with the tiny rolling pin for self-massage will show you how to do just that!
Now you know how to use a rolling pin for self-massage!
Check your home to see if you own a rolling pin. We all have at least one kitchen gadget that we don’t remember purchasing, so don’t head off to the store just yet!
Next time, we’ll talk about the healing power of tennis balls. And softballs too! Stay tuned!
Written by: Katrina Jenkins
Image by LEEROY Agency from Pixabay
Read More from Our Blog