At Home Massage Tools: Water Bottle
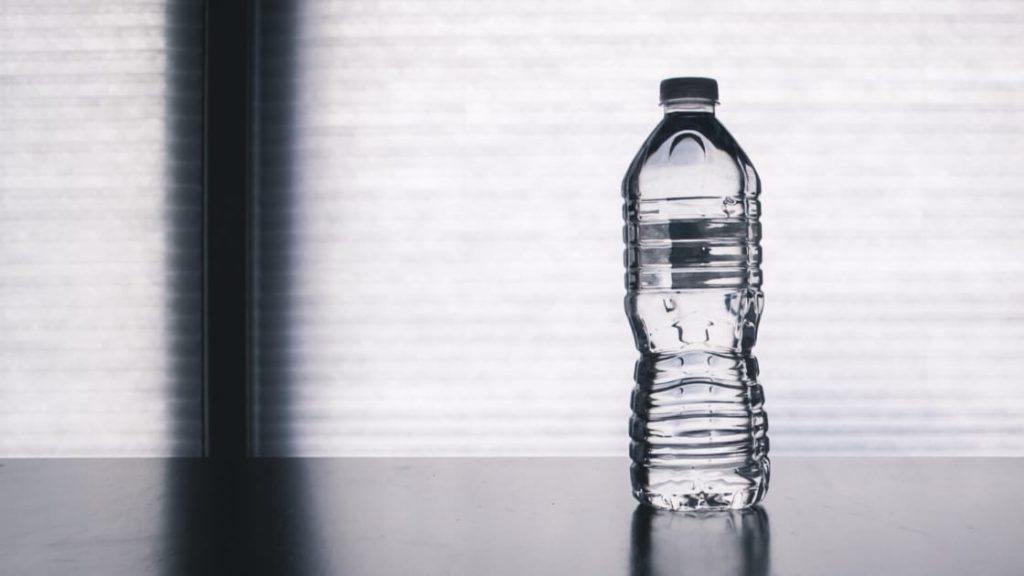
Alright! Here’s the final piece of the Household Items for Massage quadrilogy! Previously, I revealed the magic that hides in your kitchen drawer, your garage, and your gym bag. Now, let’s talk about the massager hiding in your refrigerator!
The US consumes nearly 38,000,000,000 water bottles each year. Yikes! Have you seen the commercial that brought this fact to light? If so, you know that’s enough bottles to circle the earth 190 times!
Before you start feeling bad about your plastic consumption, know that there are things you can do to keep those bottles out of the trash. And I’m not talking about crafting them into flower vases or chandeliers, though I recommend doing both of those! Art therapy rules! But no — I’m talking about saving that plastic for your self-care regimen!
Why and how do water bottles make great self massagers? Let’s get into that! Attention to those of you who have plantar fasciitis: this is the article for you!
Why use a water bottle for self-massage?
When water bottles are used for massage, the most common area addressed is the foot. The shape of the bottle, when placed horizontally beneath the arch, is a perfect fit for the curve of your foot. The massage is so easy to perform, too! Just step down on the bottle (not so hard as to rupture it!) and roll your foot backward and forward. Really easy!
Think about how much work your feet do, and how little work they receive. Their tendons are exhausted, having to carry and transport the weight of a human body all the time. So just about everyone can benefit from the lengthening motions the bottle delivers! But while all feet are worthy of release, some feet benefit a little bit more. Feet with plantar fasciitis, to be precise.
Plantar Fasciitis and Water Bottles
Isn’t plantar fasciitis just the worst? I don’t personally have it (yet), but I believe everyone who tells me it is. Waking up every morning with a stabbing pain in your heel? That sounds pretty awful.
Any word that ends with “-itis” involves inflammation. With plantar fasciitis, the inflammation starts on the tendon of your heel and runs up into the toes. The pain can be sharp, burning, or tingling. Sometimes there’s swelling, sometimes there’s limping. The pain can intensify after long periods of rest, and also after prolonged activity. Seems like plantar fasciitis victims can’t really win.
But did you know that inflammation and swelling have a shared best friend? That friend is called ice therapy. So for plantar fasciitis, what better self-treatment is there than a bottle full of ice? I’ll show you how it’s done!
Steps for a plantar fasciitis massage
- Find a water bottle. If the water hasn’t been consumed yet, drink about ¼ of the water inside. If the bottle is empty, fill it ¾ of the way with water.
- Discard the cap for now, but don’t throw it away. This is important for step 3!
- Place the bottle in the freezer. And remember, no cap! With time, the ice will expand inside the bottle. If the cap is left on, the bottle will distort and lose its ideal shape.
- Let sit for a couple of hours, until the water is completely frozen.
- When water is frozen solid, replace the cap.
- Place the bottle on the floor. You may want to place a towel beneath the bottle, to keep you from getting the floor wet.
- While sitting on a chair, press the arch of your fit overtop the bottle — just like we talked about earlier.
- Now roll your foot over the bottle, back and forth — also like we talked about earlier!
- When the ball of your foot is on the bottle, it helps if you lift your heel. Stretch those foot flexors!
- When your heel is on the bottle, point your toes downward. Stretch those foot extensors!
- You can do this several times a day, but never go longer than 20 minutes per massage! 10 to 15 minutes is ideal. If you overdo it, you can hurt yourself. Frostbite is not fun.
- Now put it back in the freezer for later use!
Here’s a video! (In the end, it says you can do this same technique with a rolling pin or a tennis ball. Both items were addressed in the previous articles!)
Water Bottle for Self-Massage on The Rest of The Body
Here’s a lesser known use for water bottles! The feet seem like an obvious fit for the shape of a water bottle, but what about the rest of your body?
This is where reusable water bottles are the ideal tool. From an environmental standpoint, it’s better to have the reusable ones hanging around anyway — so before you head out to buy a multipack of Aquafina, check to see if you have some reusable bottles instead!
So how do you give a water bottle massage to the rest of your body? Well, you use it almost exactly like you would a foam roller. The bottle just happens to be smaller, and comes in a variety of shapes and materials. A bottle with a slight curve in the middle is ideal for most parts of your body, but a perfect cylinder can work too!
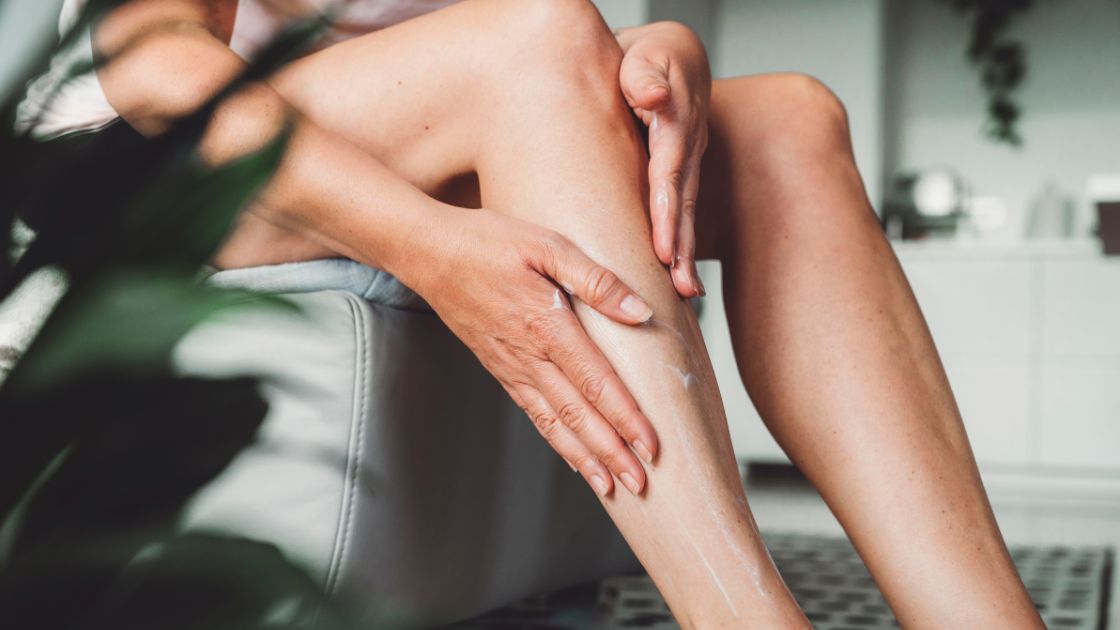
Calves
- Sit down on the floor with your legs stretched out in front of you. Place the bottle under your ankle, push yourself forward, and let the bottle roll toward your knee. Great release for your gastrocnemius and soleus!
- To release your inner calf, position yourself into a side plank, and place one leg behind the other. Place the bottle between the floor and the inner calf (this will be the leg positioned behind you). Push yourself back and forth, toward the knee then toward the ankle. And you don’t necessarily have to freeze the bottle either, unless you want ice therapy even without plantar fasciitis. Room temperature is fine, warm is fine. But no piping hot! Burns are not fun.
Thigh
- For the outer thigh, position yourself into a side plank. Place one leg in front of the other, foot planted on the floor. Then place the bottle between your IT band and the floor (this will be the leg positioned behind you.) Roll up and down the band.
- For this one, it’s really best to use a curved bottle. IT bands are tender. A massager that “hugs” the band is more comfortable than one that pushes directly onto it.
- For the inner thigh, put yourself in an elbow plank. With your forearms flat on the floor, rotate your hip outward, letting the inner thigh hover above the ground. From there, place the bottle between the floor and your inner thigh. And then (you guessed it) roll the bottle back and forth over the muscle — toward the groin, then toward the knee.
Glutes
- Sit down on the floor, placing one leg over the other leg’s knee. Have one hand flat on the floor. Place the bottle on the base of your gluteus maximus, then rock yourself back and forth over top of it.
Arms
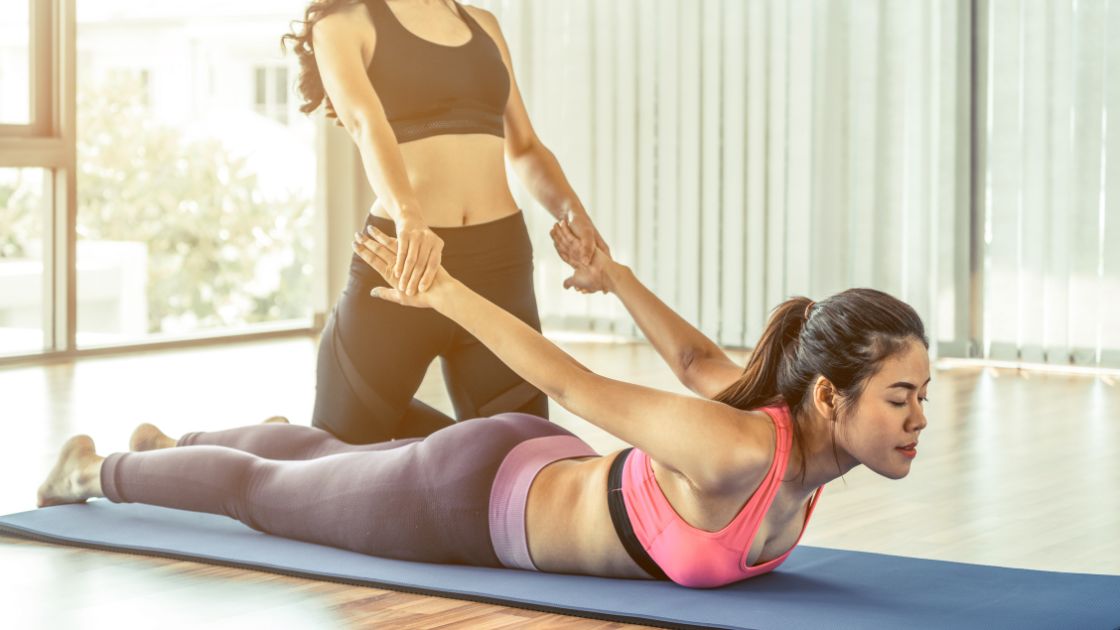
- For the forearms, place yourself in the balasana position (also known as child’s pose). Place the bottle between the forearms and floor. Roll up and down, but don’t roll over the elbow.
- For the upper arm, you can do a lazy side plank. With one arm stretched flat on the ground (parallel your head), place the bottle in your armpit. Roll it toward the elbow, without going over the elbow. Then roll back toward the armpit again, making sure to end in that position. You have lymph nodes in your armpit, so it’s always good to end an upper arm massage where your lymph will be neutralized.
Back
- As I state with every self-massage on the back, be careful. With this one, ONLY use a bottle with a deep curve in the middle. Place the bottle horizontally on your back, so the curve is cradling your spine. When secured between your back and the floor, let the bottle roll toward your head and then toward your sacrum. Don’t ever apply direct pressure to your spine — you could hurt yourself.
Neck
- With this one, also use a bottle with a curve, as your cervical spine isn’t a good match for a straight cylinder. Lying flat on your back, place the curve of the bottle under the back of your neck. Now, the same old motion you do with all the self massages: roll toward the base of your skull, then toward your feet, repeat.
Here’s a helpful video below! It’s very short, has no speaking parts, yet is very informative! Take a look!
Alright! That’s the end of the series! Now raid your house and see what treasures you find!

Katrina Jenkins
Author, Licensed Massage Therapist
Katrina Jenkins graduated from Towson University in 2013 with a Bachelor’s Degree in Health Science and worked as a nurse’s aide briefly before pursuing her true passion. She graduated from the Massage Therapy Institute of Colorado in April 2016 with honors and completed the Touch of Healers Scholarship Program the following summer. She has been a part of the Moyer Total Wellness Team since the summer of 2017.
Photo credit: Canva – Steve Johnson from Pexels

