At Home Massage Tools: Using a Car Buffer for Self-Massage
 copy 2")
In my previous article titled At-Home Massage Tools: The Rolling Pin, I told you all the secrets that are hiding in your kitchen drawer. This time, I want to tell you about the secret that might be hiding in your garage!
So, let’s reiterate the common predicament addressed in the last blog: you need a massage, but you just can’t fit an appointment in as soon as you’d like to. It happens, no big deal. But your muscles are sore, and that time lapse between your last and next session seems like a long time. What can you do in the meantime for some much needed self-care?
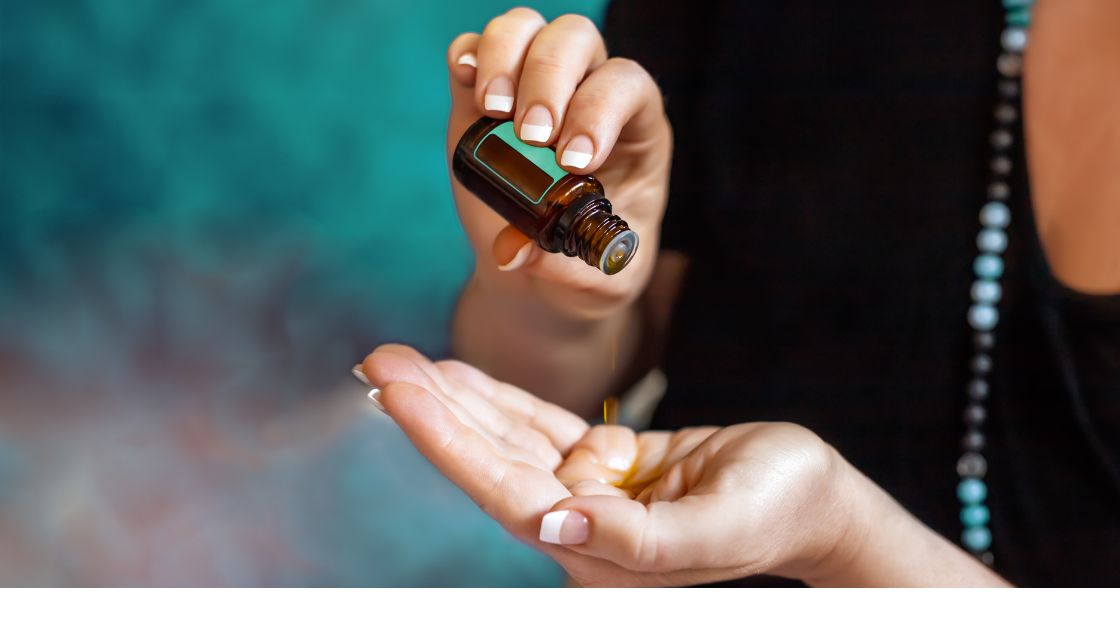
Well, look around the house and check for household items with muscle-healing properties! Rolling pins, tennis balls, and water bottles are just a few items with hidden talents. But today, we’ll talk about the healing power of car buffers!
What makes a car buffer a great massager?
Car enthusiasts can tell you all about the awesomeness of car buffers. The mechanisms of a car buffer are similar to a combination of different massage techniques. When applied to a car, the tool uses deep rotating movements to polish old car paint and smooth out scratches. You could say that its fast pummeling motions are similar to the tapotement massage modality. And its deep circular action mimics the motion of a deep tissue massage. And those two techniques combined are commonly used in sports massage. So athletes, this might be the self massager for you!
How do you use a car buffer for self-massage?
Ok! If you read the last article, here’s a little more repetitive information! One of the perks of having a car buffer laying around is how lazily you can use it. When you foam roll, you have to be active with the roller, kind of giving yourself a workout when you just want to relax. But with a car buffer for self-massage, you barely have to move at all!
So, how do you use the tool on your muscles? Well, it depends on the body part. Let’s address each muscle group the buffer can cover. In case you’re a visual learner, I’ll attach videos so you can watch people acting out what I tell you to do!
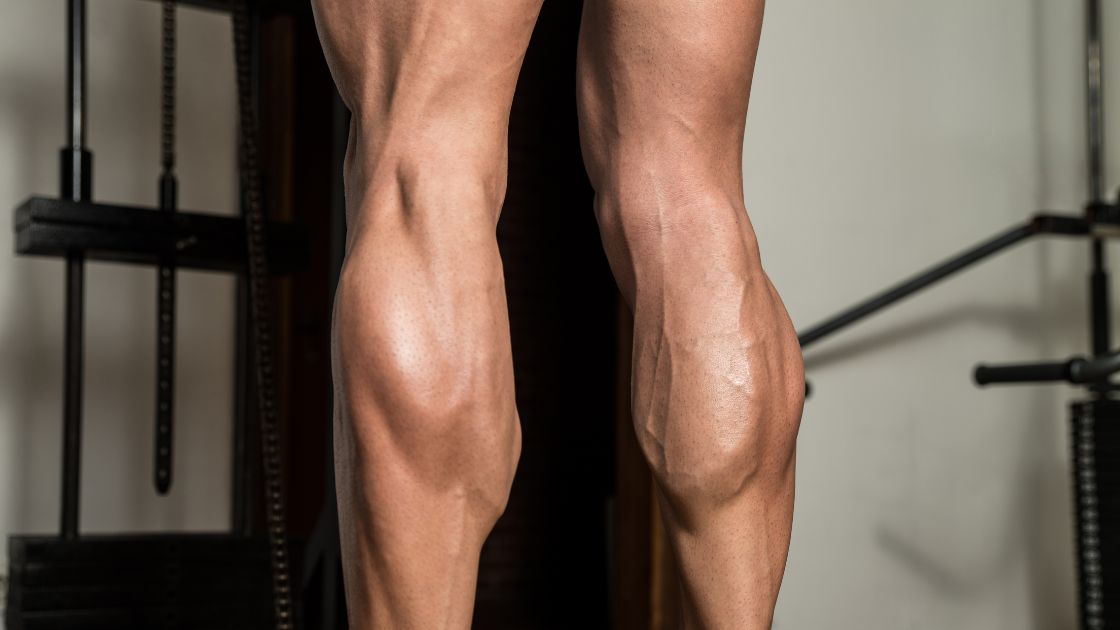
Upper legs
Sit yourself down! Turn on your buffer, set the spinning speed to your comfort level, and apply either the flat surface or the thin edge of the pad onto your quadriceps (the top of the thigh). You’ll want to start at the muscle attachment site, which is either just above the knee or just under your hip bone. Press the tool down into the muscle belly, moving up and down the quadriceps. You’ll always want to end the self-massage with an upward stroke toward the groin — this will deposit the collected lymph above the muscles into your lymph glands. Lymphatic drainage cleanses toxins from your body, so it’s always good to throw some of that into your massage!
You can also roll over the top of your thigh from side to side, making contact with your inner and outer thigh. End the same way though, pushing away from the start of the knee on your inner thigh (adductors) and towards your hip (greater trochanter) for your outer thigh.
Hips and Glutes
For this one, you’ll want to place the flat pad of the buffer on your greater trochanter. Roll the tool around the bony notch — it will be a great release for your IT band’s attachment, which is tight on just about everybody. After that, move the buffer to your glutes without lifting it from your skin. Press into the surface area of the glutes, and follow below the arch of your iliac crest. You’ll only want to work one side of the body at a time — don’t push the buffer from your left gluteal muscles directly to your right, just start the process over again with the opposite hip. This will prevent you from rolling over your sacrum, which attaches to the bottom of your spine. You never want to go directly over the spine. I’ll explain why when we talk about your back muscles.
Arms and Shoulders
Another one you can do while sitting down! Ideally, you’ll want to start at the wrist and move the tool upward toward the armpit. For the same reason that you move from the knee to the groin with leg massage, going from the elbow and into the armpit aids with lymphatic drainage. You have lymph nodes in your armpit too! Always move in the direction of correction, as I call it.
To work your pecs, it might be easier to use the edge of the car buffer for self-massage as opposed to the flat part of the pad. If you have a lot of breast tissue, the largeness of the flat pad might cause discomfort on your chest. If you fall into the top heavy category, you’ll want to start at the pec attachment just under your collar bone and move the buffer toward the armpit. If you have a flat chest, you might have ease using the flat pad of the buffer and can start at the side of your sternum (breastbone).
From the pecs, you can glide the buffer over your deltoids and onto your shoulder blades. You might need help from a partner for that area, though. The muscles on top of your rotator cuff muscles surrounding your scapula (supraspinatus, infraspinatus, teres) might be a little hard to reach on your own while you have a large vibrating object in hand! And those muscles like to hold lots of trigger points, so they can surely benefit from some pummeling!
Go to the 2-minute mark of this next video to watch the mechanics of an arm/shoulder massage. If you watch until the 3-minute mark you should know what to do! Very easy!
Back
Ok! So here’s one that will likely require a little help. The car buffer for self-massage can be great for your back muscles. Your latissimus dorsi, the muscle that originates at your iliac crest and inserts into your humerus, is large and flat. Car buffer pads are also large and flat, making the muscle and the tool a compatible pair. The pad can be placed right above that origin site and be dragged right up into the insertion site — you won’t have to break contact with your skin or turn the buffer onto its edge! Just one simple movement!
But there’s two things you should note. (Number two is more important than number one)
Number one: unless you’re super flexible, you’ll probably need assistance with this one. Find a partner, and have them push that pad just above the pelvis. Be communicative, making sure to voice if any adjustments need to be made — such as altering the spinning speed, or if/where you want the pad to be moved. Keeping the buffer in one place will help break up muscle adhesions with its repetitive pummeling. Then moving the buffer upward will help “pull” the adhesions apart on their way toward the insertion site.
Number two: Your spine is precious! This is yet another one of those techniques that should be performed by someone who knows what they’re doing — a massage therapist, chiropractor, etc. You NEVER want to apply fast or deep (or fast AND deep) pressure to your spine. As was mentioned in the rolling pin article, there can be serious consequences when the spine is incorrectly palpated. Instant back pain, a headache or (in the worst case) nerve damage can occur. So let me reiterate: the car buffer and the back muscles are a great fit, but the person in control of the tool should be a professional.
Now you know what to do (and not do!) when using a car buffer for self-massage.
If you have a place where you store all your car tools, dig through it! If you don’t have a place where you store car tools (or are absolutely certain you don’t own a car buffer), go out and buy one if this article made you want to do so!
Next time, we’ll talk about the healing power of tennis balls! And softballs too! Stay tuned!
Written by: Katrina Jenkins, LMT
Photo Credit: Canva
Read More from Our Blog